Publishing app for iMessage is pretty straight forward for developers, but can be confusing for people who hasn’t pushed apps to the market yet.
Prerequisites
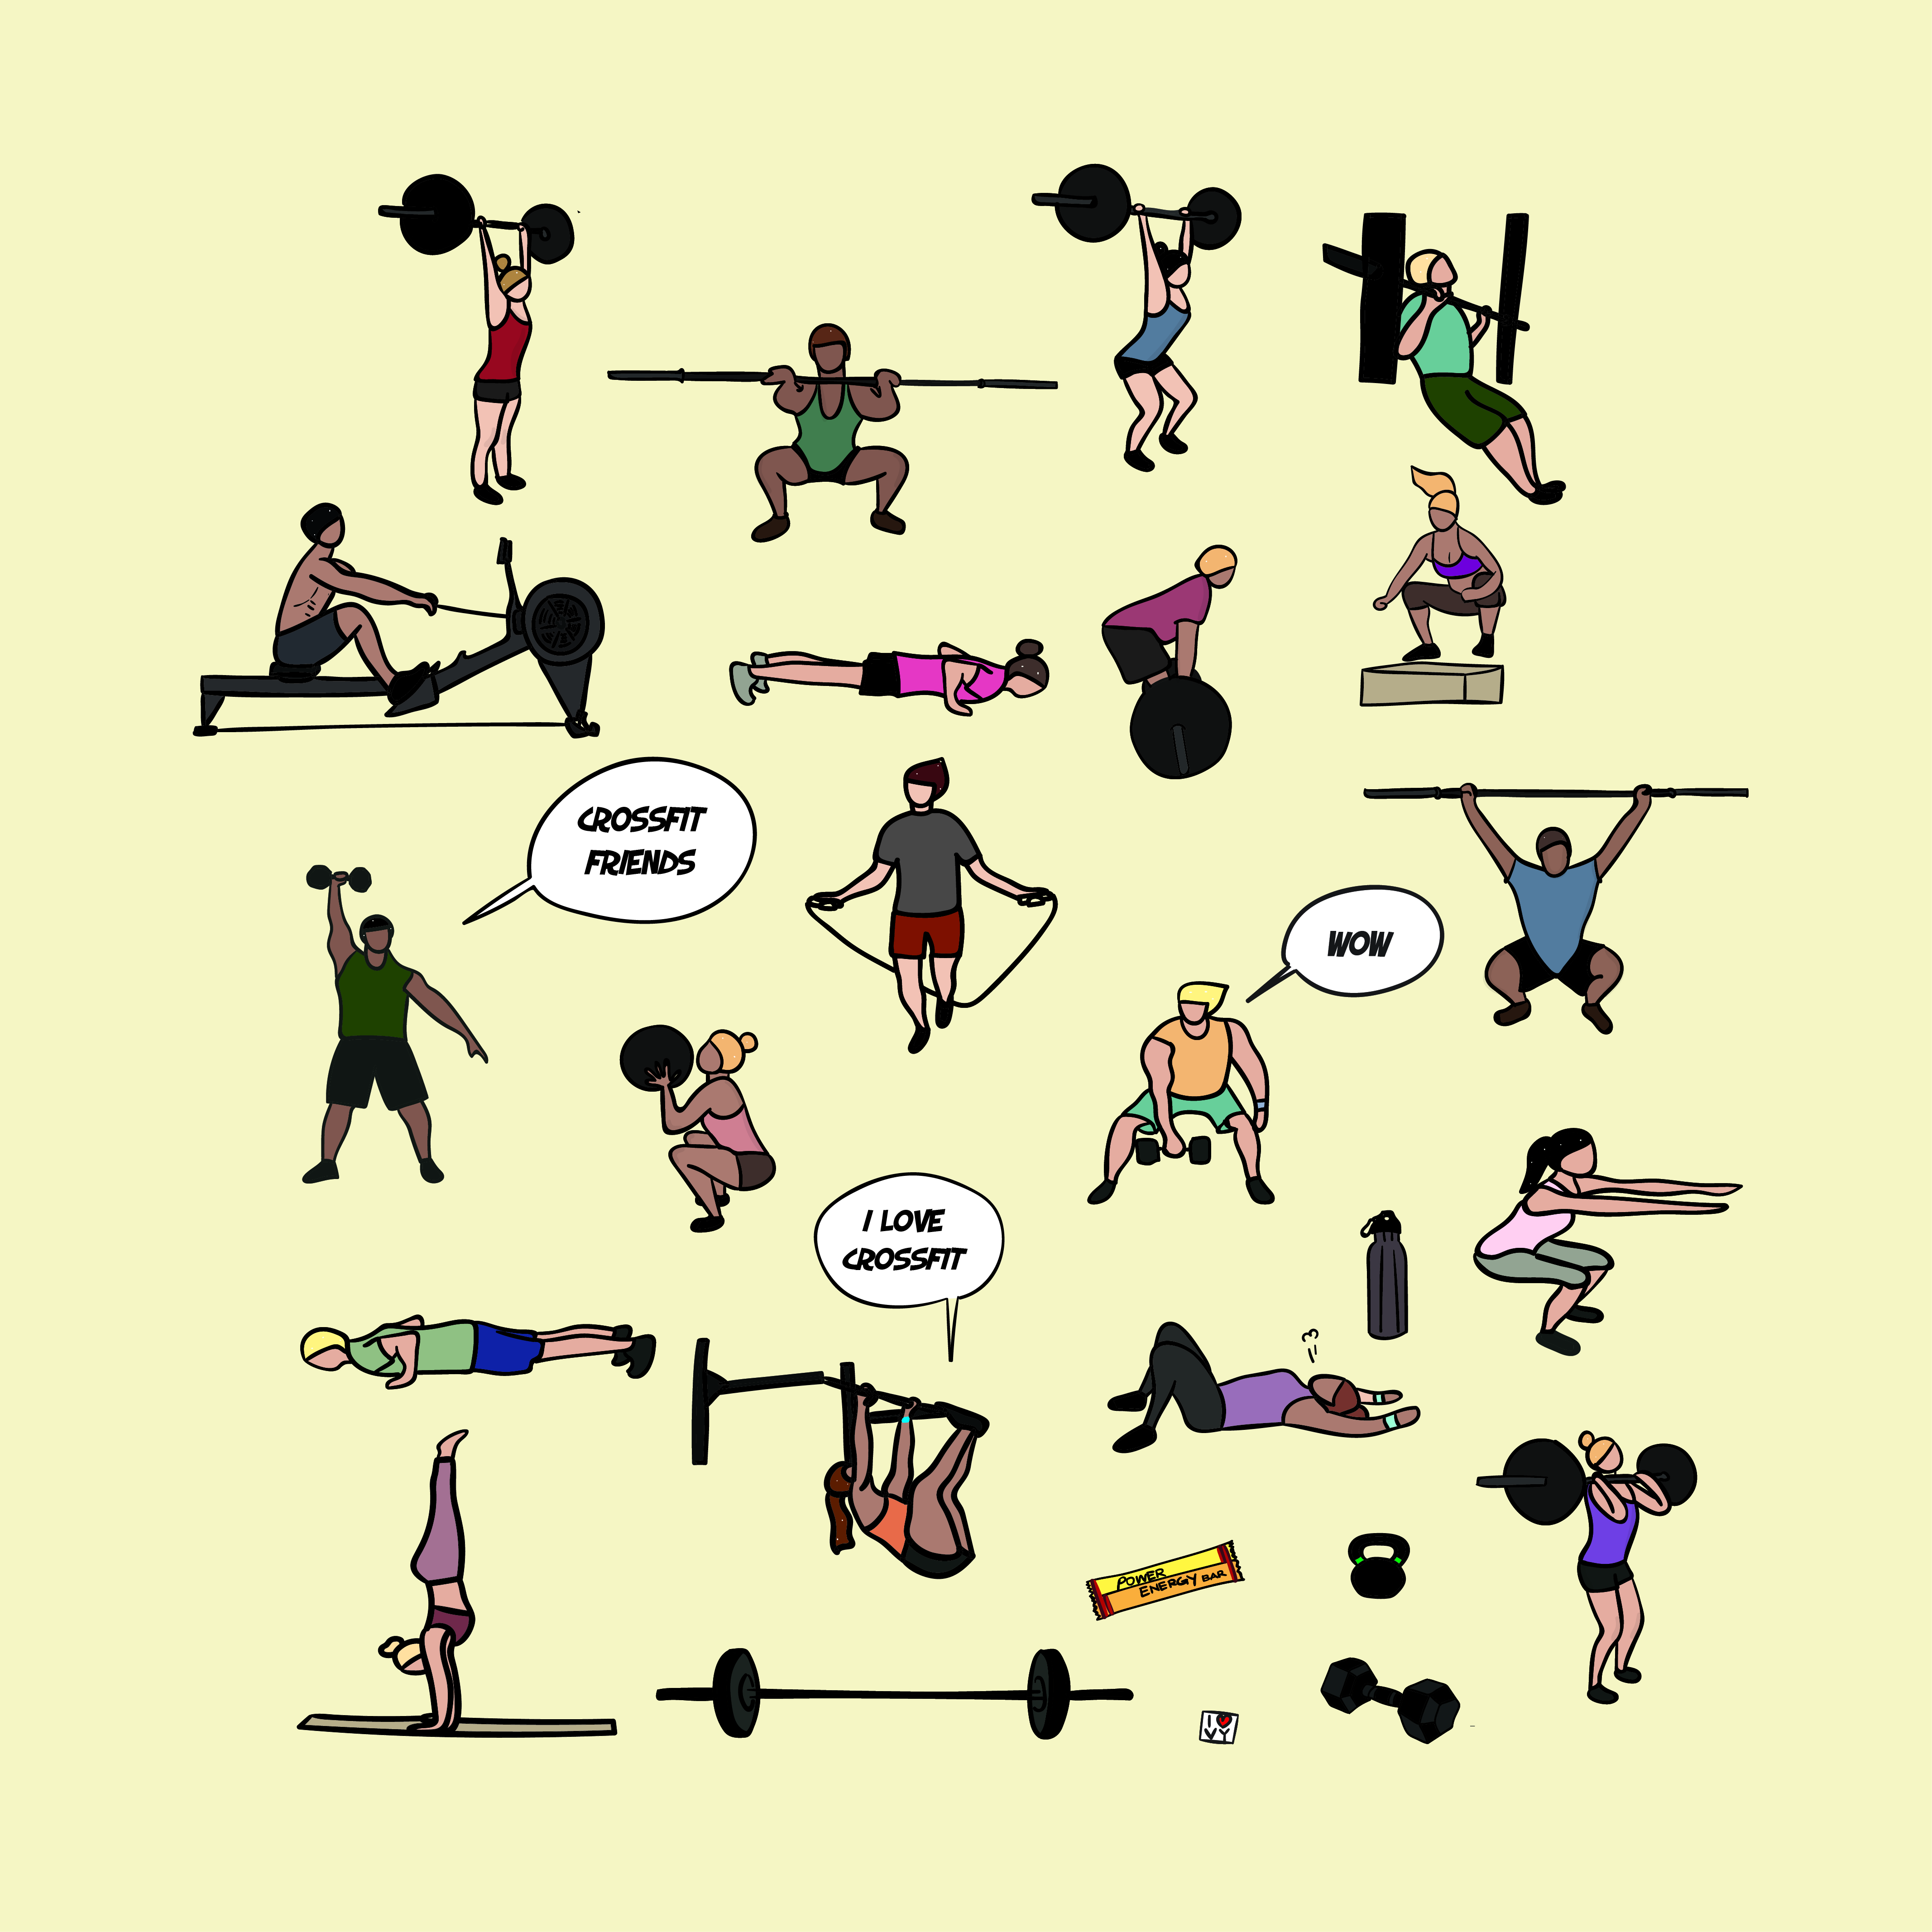
- Have your images ready
- Apple developers program
- Mac with XCode installed
Register bundle ID
In order to add a new App in iTunesConnect we should prepare a bundle id. Register a new bundle ID on the Developer Portal.
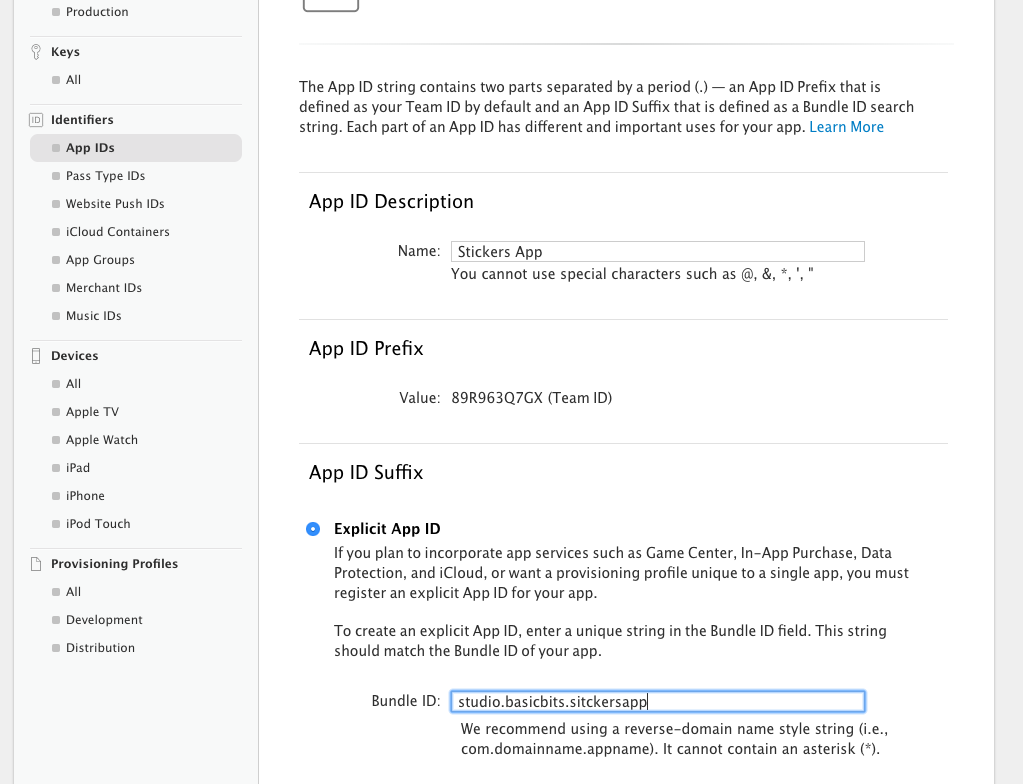
Navigate to App Ids and click + button.
Fill in App Id Description. Your app name.
Select Explicit app id and type your bundle ID. Recommended way to do this is a reverse domain notation with app name, for example studio.basicbits.stickersapp
Click Continue and Register.
Prepare App in the store
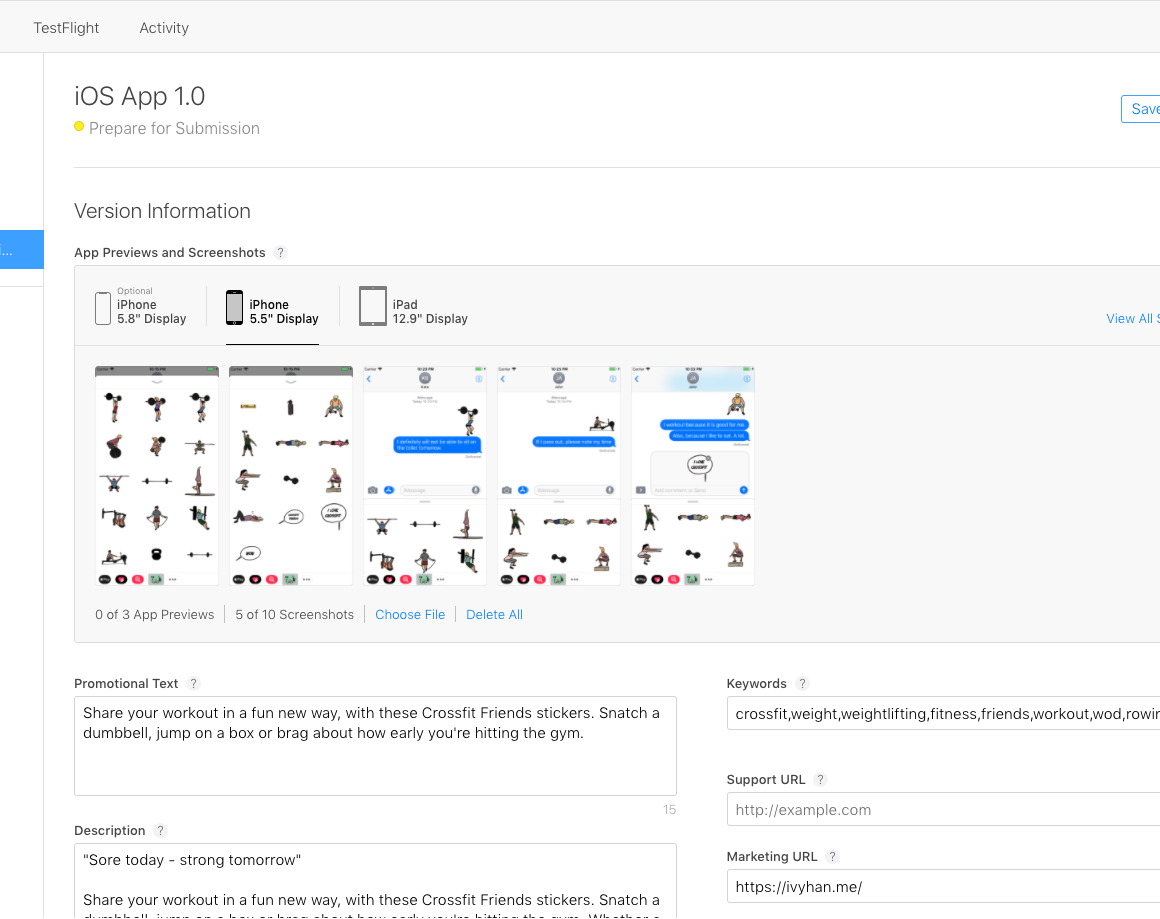
Let’s add a new App in iTunesConnect.
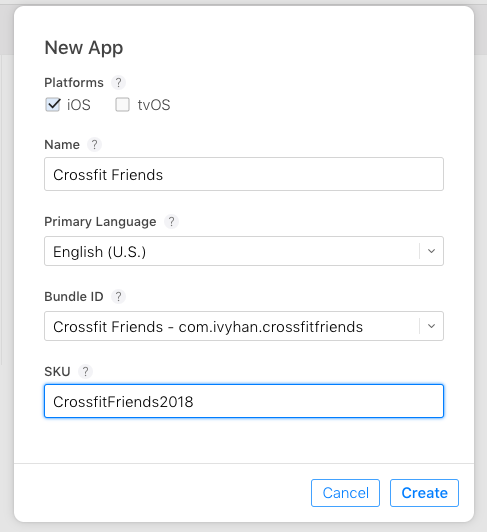
Navigate to iTunesConnect, select My Apps and click + and select New App.
Type a name of the app.
Make sure to select Bundle ID that you just created.
Create an SKU. This is only for your reference in the future.
Build an App
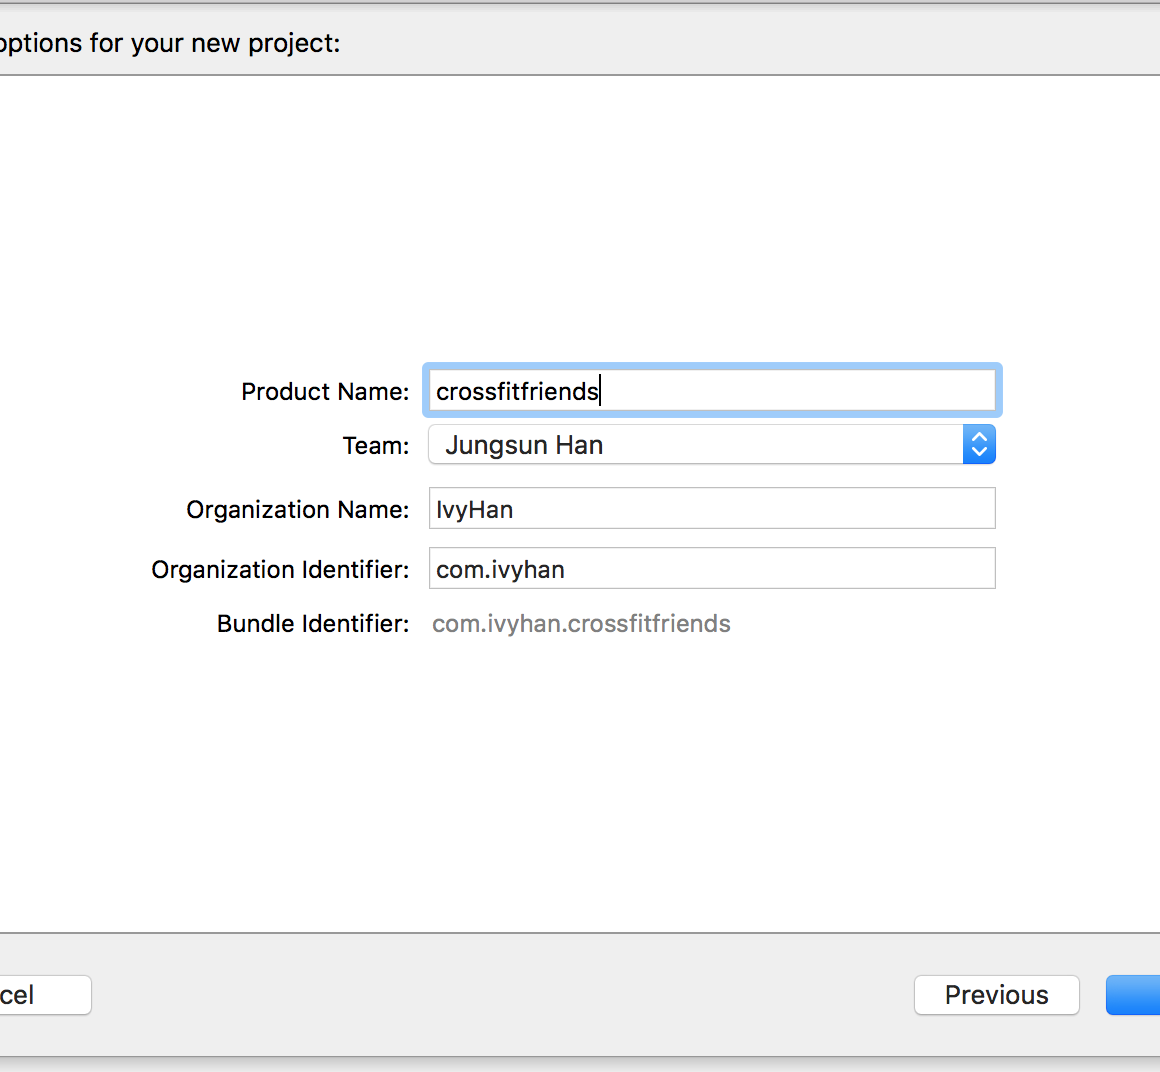
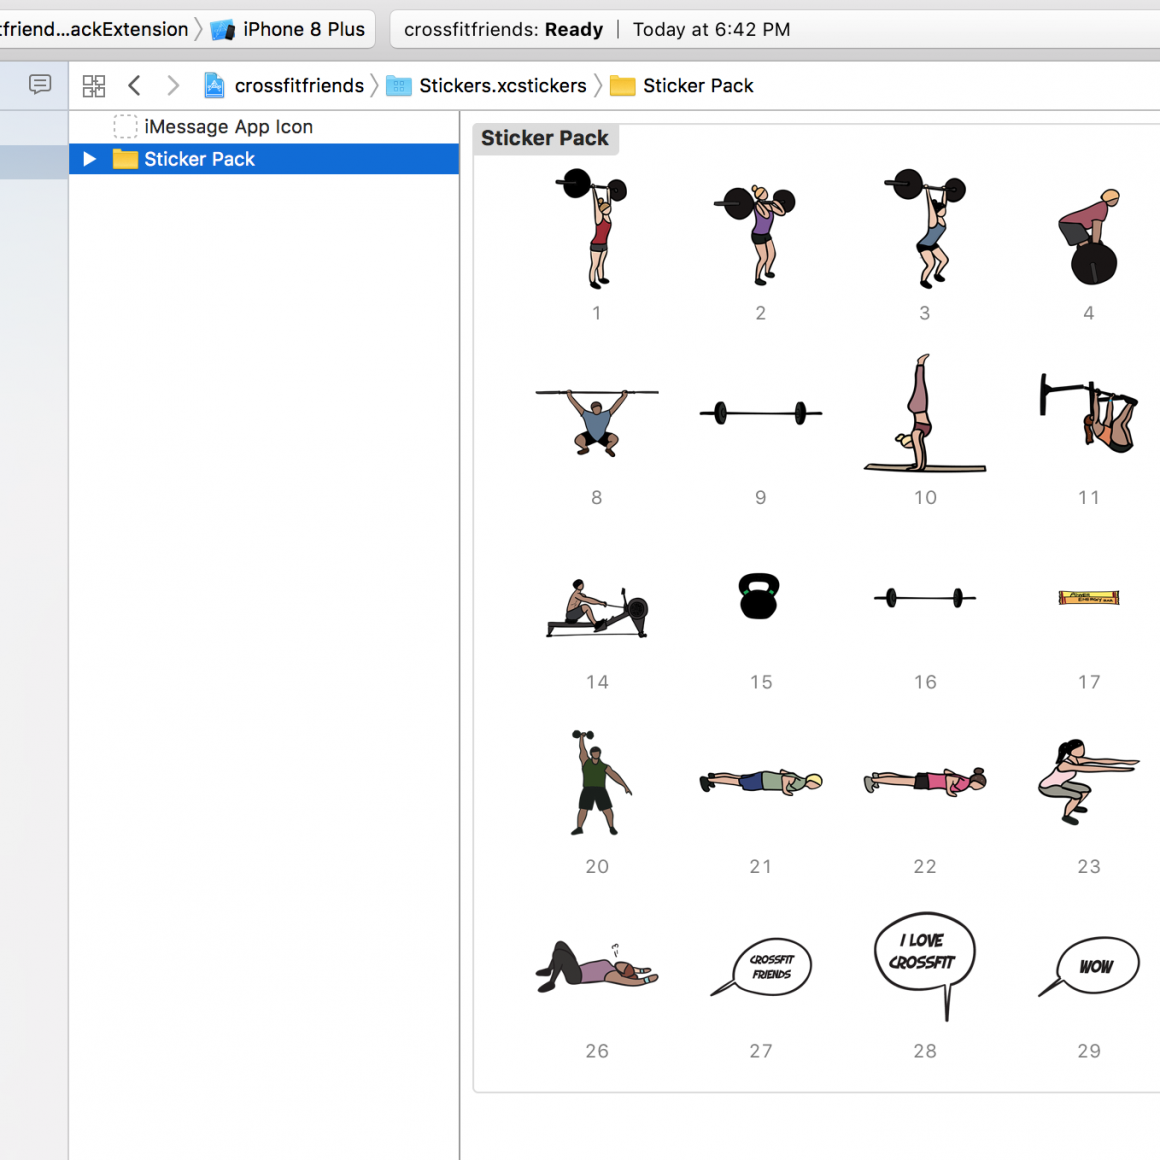
It is finally a time to create an actual iMessage app. Let’s open XCode and select Create New App, choose Stickers app.
Fill in app details and your app is created.
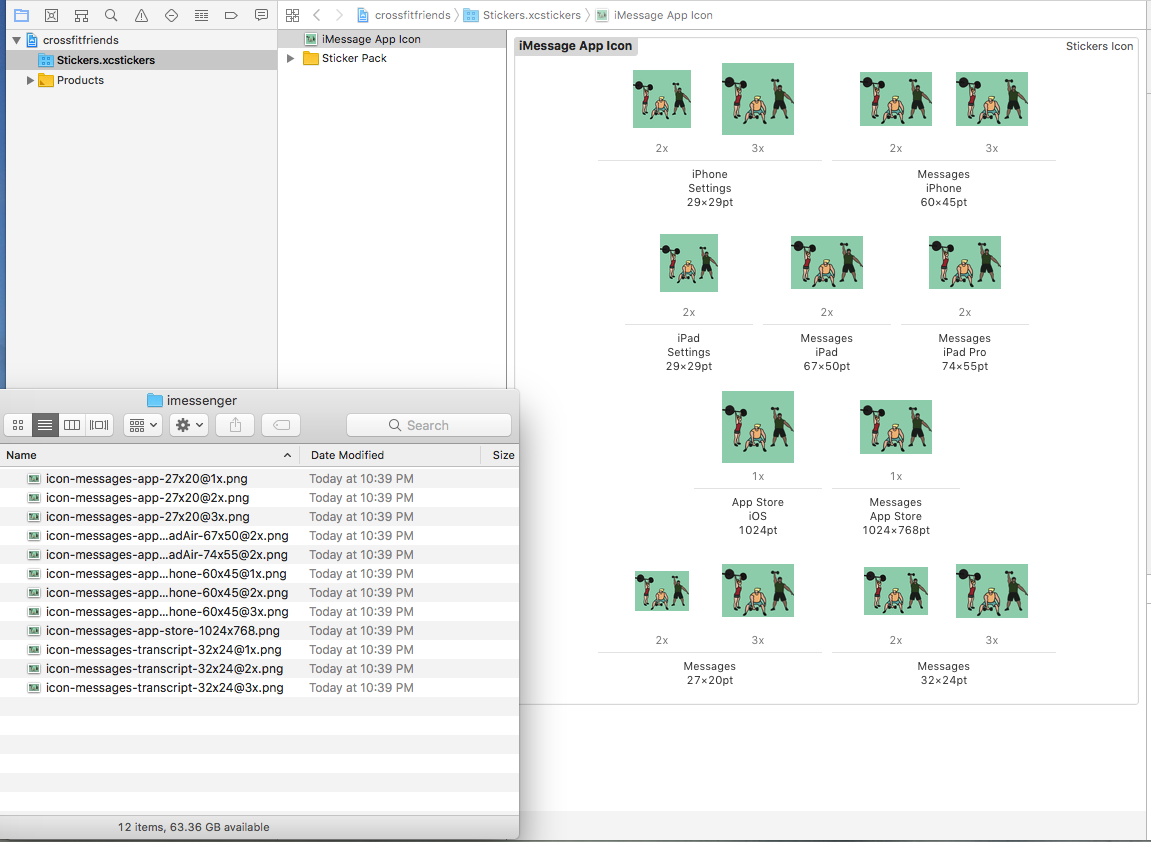
Create and App icon the format for it should 1024px by 1024px with non-transparent background. Run it through the online makemyappicon truncating service to save time creating millions of different image sizes and replace your app icon in the app.
After adding images you are ready to upload app to the store. Select Product from top menu and click Archive(If archive is greyed out, select a generic device instead of iPhone simulator)
